Connecting your database
Now that your workspace has been created, the next step is to bring your data into Anlytic so you can begin analyzing it and building visualizations. Connecting your database allows the platform to securely read your schema, synchronize your tables, and prepare your catalog for reporting and dashboard creation. This section walks you through the full process of setting up your first data connection, entering your credentials, and organizing your catalog for analysis.
If your database type is not yet supported, please contact our team. We are continuously working to expand the list of available connectors and improve compatibility with more data platforms.
Setup connection
To create a new database connection, follow the steps below:
- Click the workspace name at the top of the left-hand sidebar to open the workspace menu, then select Settings.
- In the left-hand sidebar, go to Databases.
- Click New connection in the upper-right corner of the screen.
- Select the cloud data warehouse you want to connect to, then click Save and continue.
- Enter the required connection credentials for your database.
- Click Save and continue to complete the connection setup.

Build your catalog
After your database connection is created, the next step is to organize your data into a structured catalog. The catalog defines how your tables relate to one another, how metrics are calculated, and how data is presented when building visualizations. Follow the steps below to set up your catalog effectively:
-
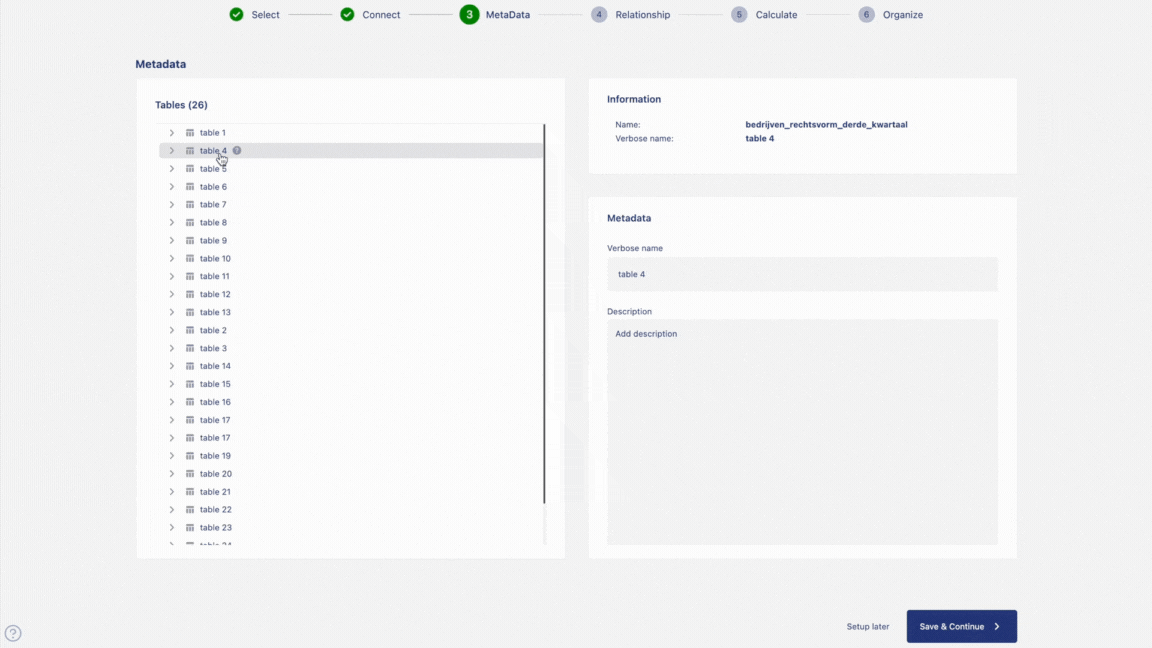
Add metadata
Provide descriptive information for your tables and columns to make your data easier to understand. Metadata helps users identify the meaning, purpose, and format of each field when exploring the catalog or building visualizations. -
Define relationships between tables
Establish logical connections between your tables to ensure that joins and aggregations behave correctly. You can create one-to-many, many-to-one, or other supported relationship types depending on the structure of your data model. -
Create metrics
Add business metrics (such as revenue, cost, profit margin, conversion rate, and more) to standardize calculations across dashboards. Metrics allow your team to reuse consistent logic without rewriting formulas in multiple visualizations. -
Organize your catalog
Drag tables from sources into your catalog to group and structure them logically. You can create catalogs based on business domains, datasets, or any organizational standard your team follows.
Once ready, click Deploy to complete the catalog setup and apply your configuration.