After creating a workspace filter, you may need to update its groups, fields, values, or descriptions. Anlytic allows you to edit any active filter directly from the Workspace Filters page.
This section explains how to edit an existing filter and redeploy the updated configuration.
How to edit an existing filter
Follow the steps below to update a filter:
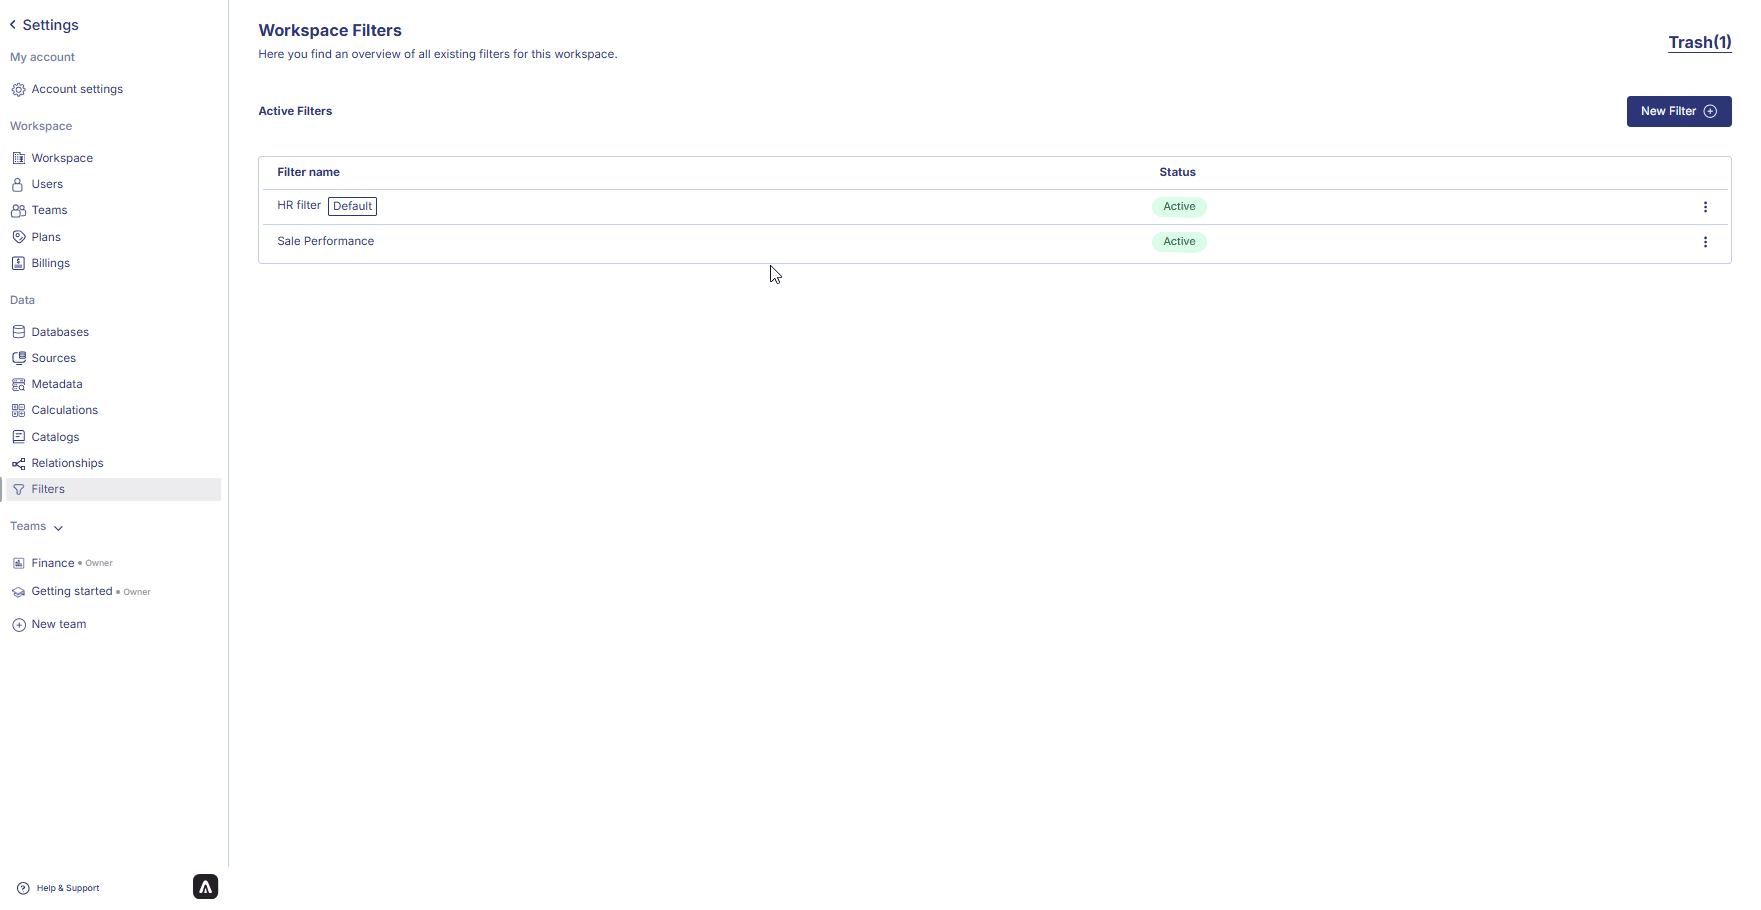
1. Open the Workspace Filters page
- Select your Workspace from the sidebar
- Go to Settings
- Under the Data section, click Filters
You will see a list of all active workspace filters.
2. Select the filter you want to edit
In the filters list:
- Locate the filter by Filter name
- Click the ⋮ (options icon) to the right of the filter
- Select Edit
This will open the filter in the Add Filters editing interface.
3. Update filter details
You can modify any part of the filter:
Edit Filter Name
- Change the filter title to reflect the new purpose
Edit Groups
You may:
- Change Group Type (INP, INPUT, RADIO, etc.)
- Update Group Name
- Add or remove Category, Level 01, Level 02, …
- Update placeholders, default values, and descriptions
- Link to different source columns
To edit:
- Click the ✎ Edit icon next to the group or field
- Make your changes
- Click Save inside the group panel
Edit Fields
For standalone fields:
- Click the ✎ Edit icon next to the field
- Update Field Type, Field Name, Placeholder, Column Mapping, or Value
- Click Save to apply updates
Add New Groups or Fields
At any time you can:
- Click Add group to add a new filter group
- Click Add field to add a new standalone field
These additions will be included when you deploy the updated filter.
4. Save and deploy changes
After completing all modifications:
- Click Save to confirm your edits
- Click Deploy at the bottom-right corner of the screen
 The updated version of the filter will replace the previous one and become active immediately.
With this workflow, teams can keep their filtering logic accurate, updated, and aligned with evolving business requirements.
The updated version of the filter will replace the previous one and become active immediately.
With this workflow, teams can keep their filtering logic accurate, updated, and aligned with evolving business requirements. Last modified on March 13, 2026