Multi-catalog support allows users to switch between different catalogs when building visualizations. Depending on their role and permissions, users can access one or more catalogs to explore datasets, compare information, and create more meaningful insights. This feature provides greater flexibility and improves the overall data-exploration experience within the Anlytic platform.
Key benefits of multi-catalog support include:
-
Enhanced Flexibility: Users can seamlessly switch between different catalogs and explore multiple datasets without leaving the visualization screen.
-
Tailored Insights: Access to multiple catalogs enables users to generate insights that match their specific analytical needs and business objectives.
-
Streamlined Workflow: All relevant datasets are readily available from the same interface, reducing the time spent navigating different tools or data sources.
-
Improved Collaboration: Teams can work with shared catalogs or separate catalogs depending on roles, improving alignment and reducing confusion over data definitions.
-
Increased Efficiency: The ability to toggle between catalogs eliminates the need to switch platforms, resulting in faster, more efficient visualization building.
While creating a visualization, you can switch catalogs using the dropdown arrow next to the catalog name and selecting the catalog you want to work with.
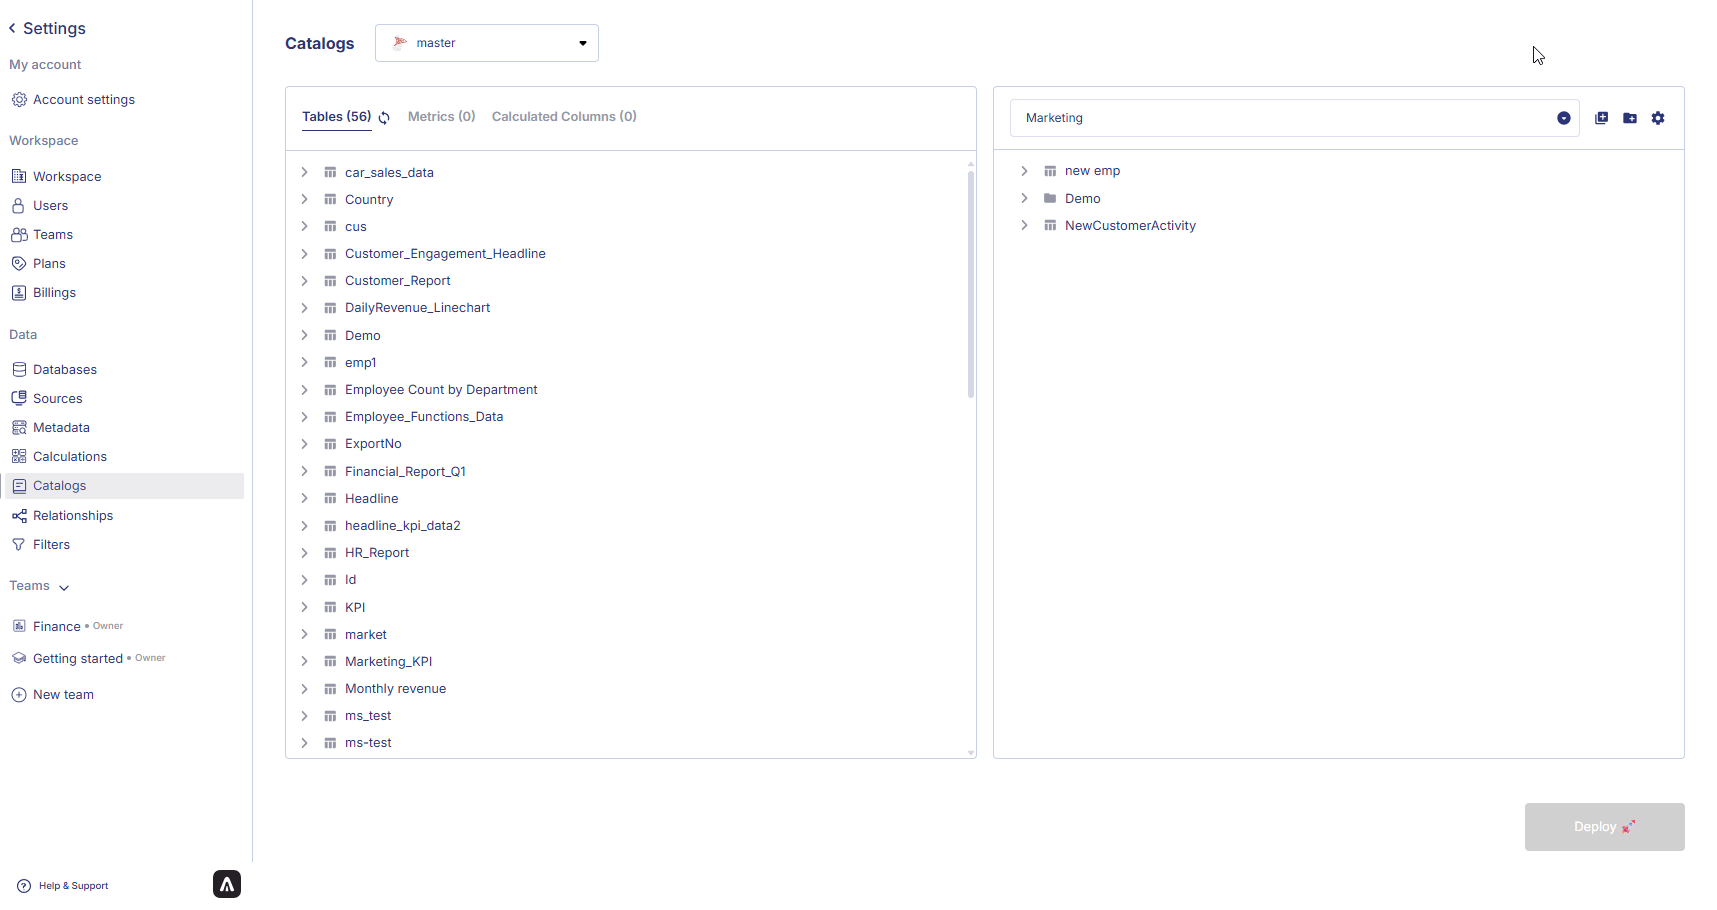
How to add multiple catalogs
When adding a new data connection, you will be prompted to organize your data into a catalog after completing the connection, metadata, relationship, and formula steps. You can create as many catalogs as needed during this stage.
-
Click the add catalog icon to create a new catalog, then use the edit (pen) icon to name it.
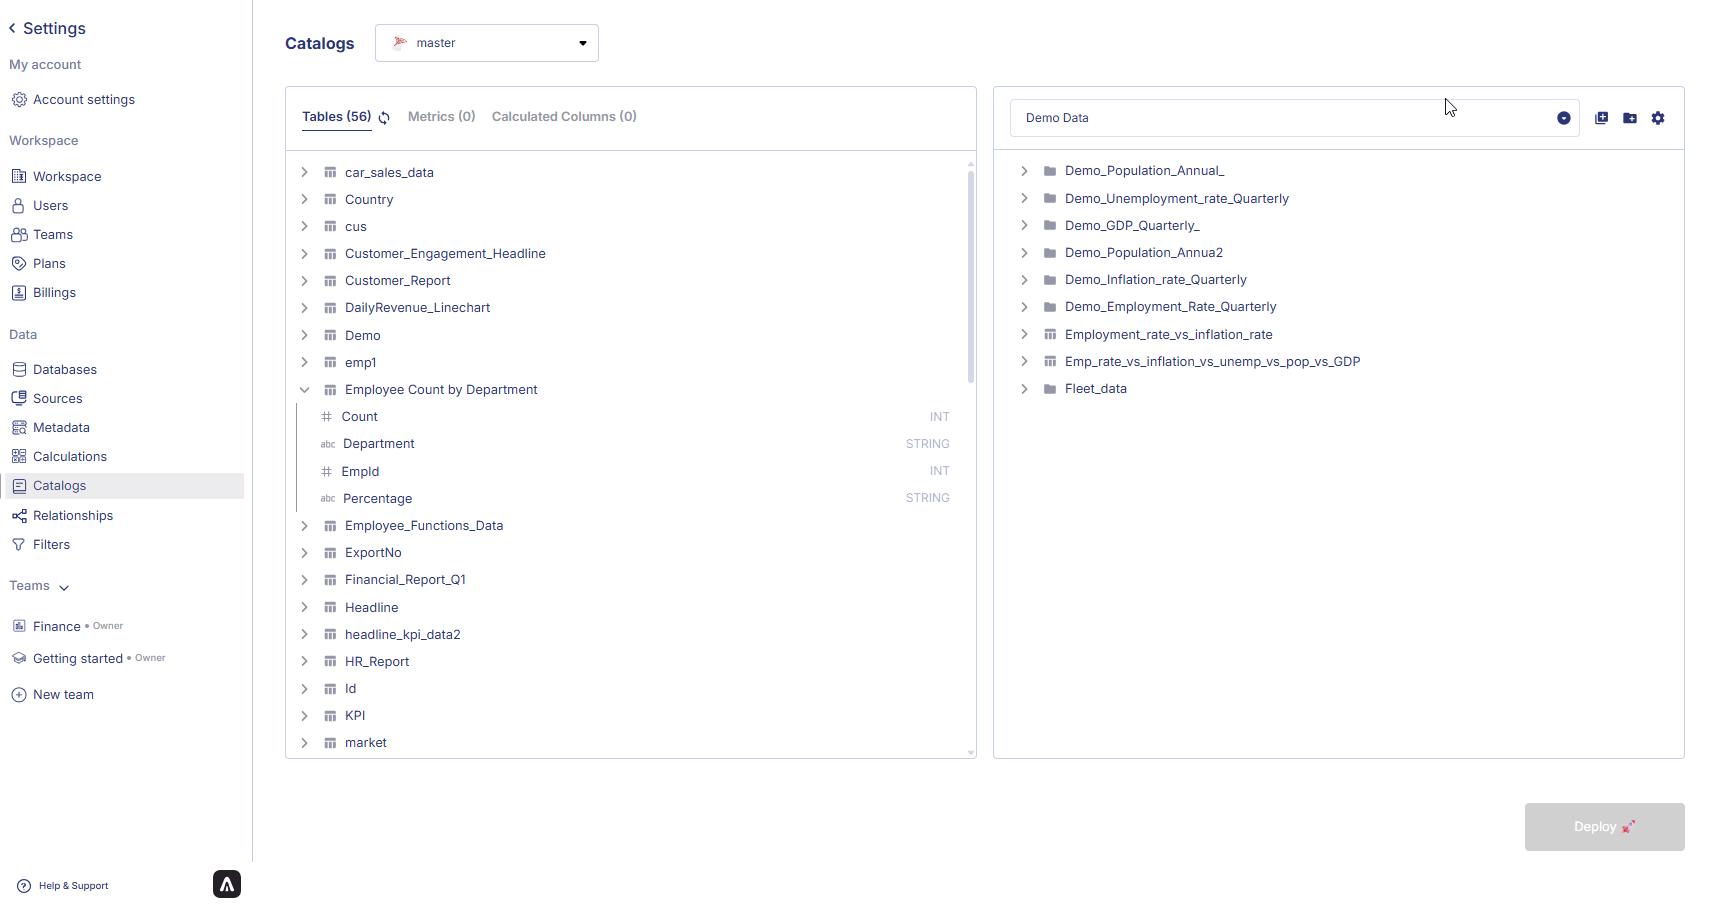
Drag a table from the left panel into the catalog panel on the right. This adds the table along with all its columns.
-
To add another catalog, click the add catalog icon again and repeat the same process.
Once you finish organizing your catalogs and folders, click Deploy to save and apply all changes.
Delete a catalog
If a catalog is no longer needed, you can remove it from your workspace at any time. Deleting a catalog helps keep your environment organized and ensures that only relevant datasets remain available for visualization. To delete an existing catalog, follow the steps below:
- Open the organize page and select the catalog you want to remove from the dropdown list.
- Hover over the catalog name in the right panel and select the delete icon when it appears.
- A confirmation dialog will appear. Click Delete to confirm the removal.
- After the catalog is deleted, click Deploy to apply and finalize the changes.
 In the next chapter, we will explore dashboards and charts and show you how to create visualizations in the Anlytic platform.
 Last modified on March 13, 2026