When adding a new data connection, you will be prompted to organize your data into a catalog after completing the steps for connecting your data warehouse, adding metadata, creating relationships, and defining formulas. If you want to create a catalog for an existing data connection, you can do so from the Edit Catalog page.
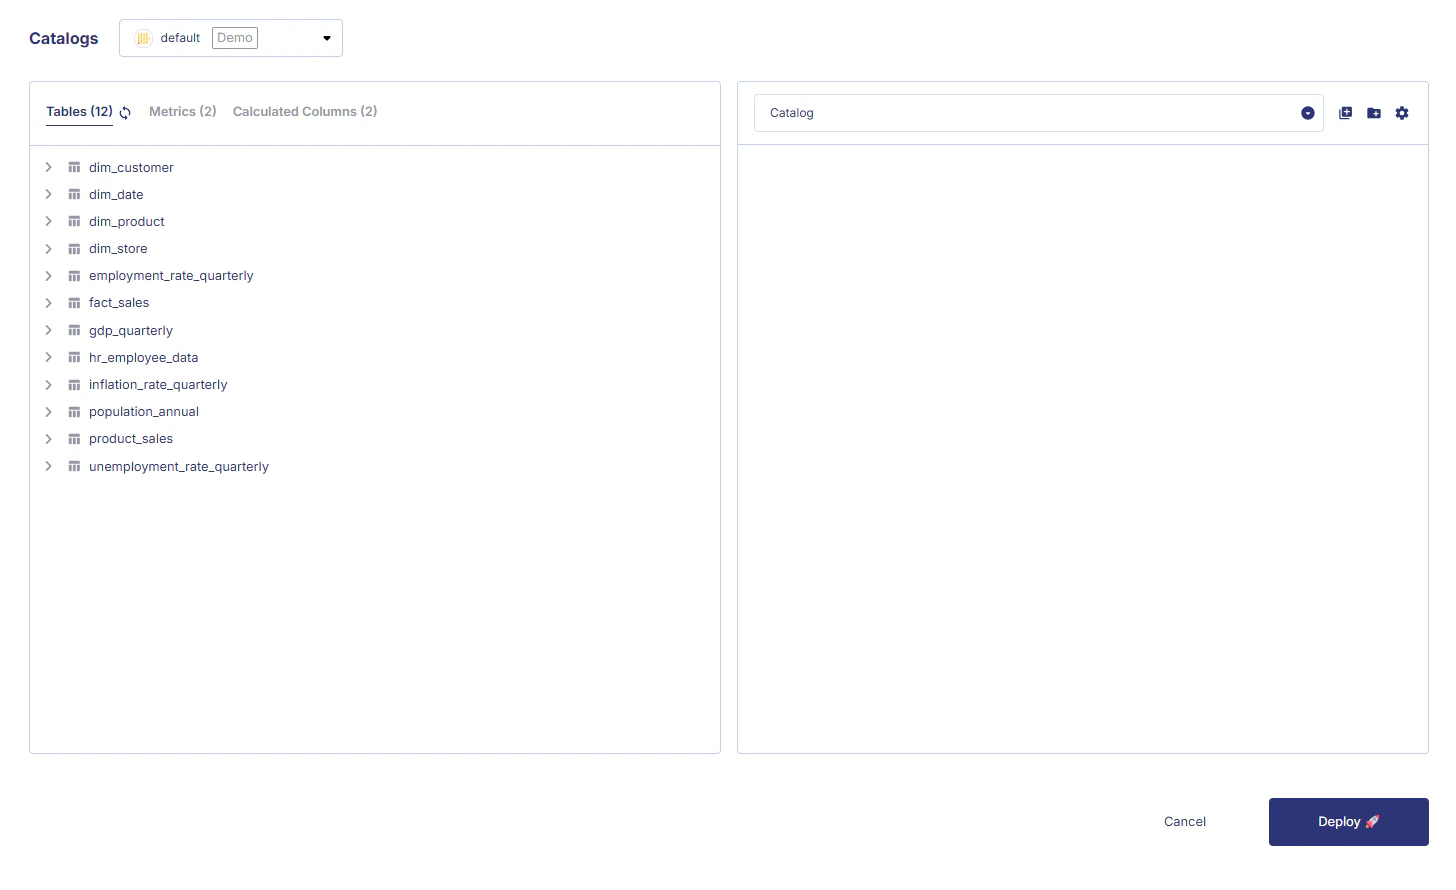
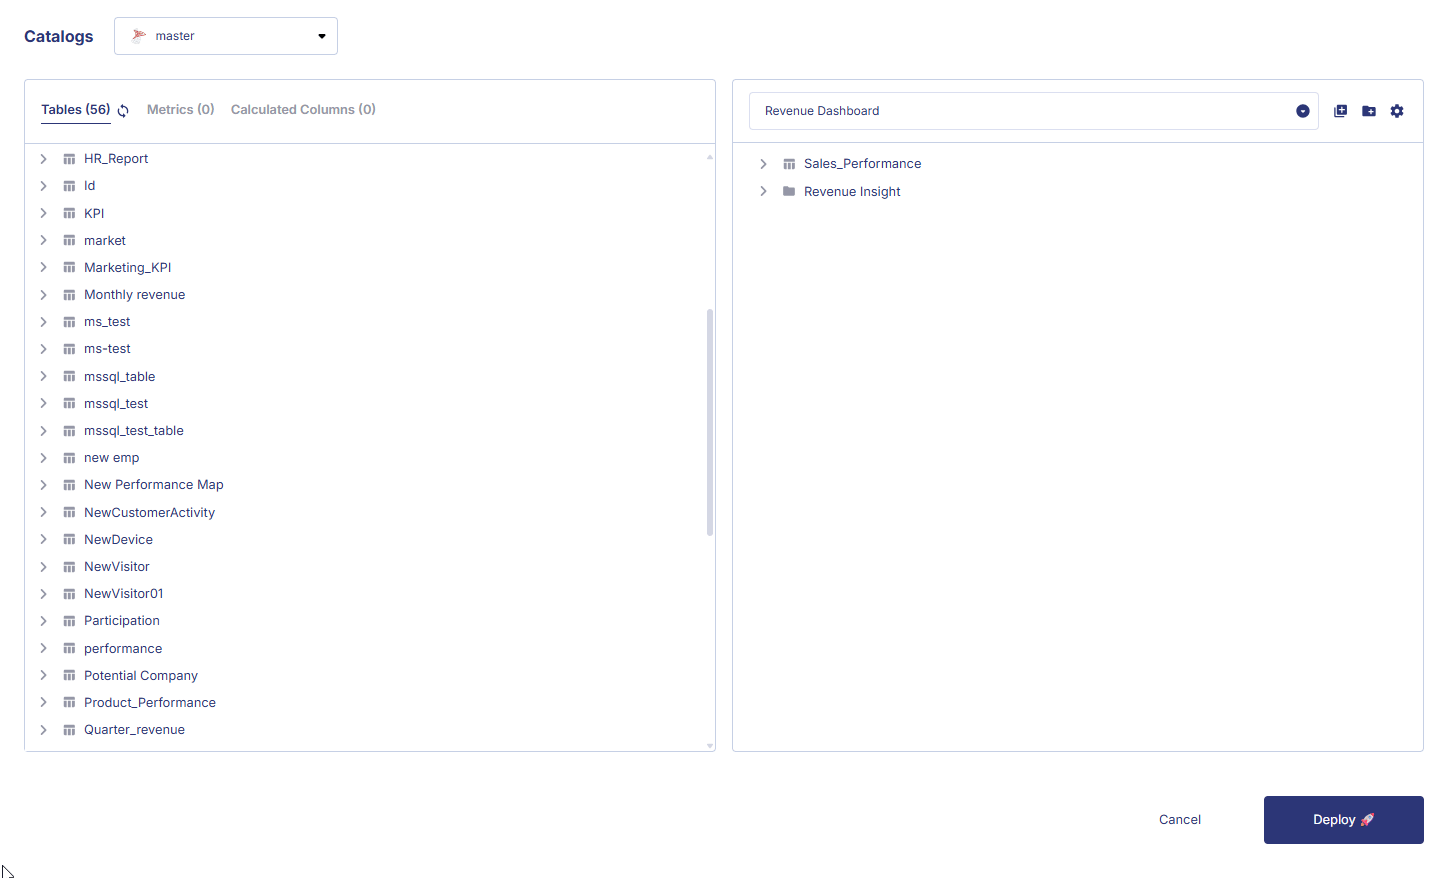
On the organize page, you will see two main sections:
- The left panel displays all data tables, metrics columns available from your connected source. You can refresh this list at any time by selecting the 🔄 icon.
- The right panel represents your catalog. Here, you can choose from existing catalogs using the dropdown, create a new catalog using the add catalog icon, or add folders using the add folder icon.
Steps to create a catalog
-
Select the add catalog icon to create a new catalog. Use the edit (pen) icon to name your catalog.
To add data, drag a table from the left panel and drop it into the catalog. This action will include the table along with all of its columns.
-
If you prefer to add only specific columns instead of the entire table, click the table name in the left panel to expand it.
Drag individual column names into the catalog. Columns can be dropped directly into the catalog, into a table, or into a folder.
-
To organize your catalog, click the add folder icon and give the folder a name. You can drag tables or columns into folders to group related items.
- To create a sub-folder, hover over a folder and select the add folder icon.
- You can also drag one folder into another to nest it.
- To move a sub-folder back to the main catalog level, drag it out of its parent folder.
After organizing your tables, columns, and folders, click Deploy to save and apply your catalog structure.
 In the next chapter, we will show you how to edit or create a catalog from an existing data connection.
 Last modified on March 13, 2026